
Prompt-to-shot drafts
Use the text workflow for first-pass scenes, ad concepts, explainers, visual tests, and short narrative beats.
Open this route →Create videos from a prompt, animate a still image, or guide a shot with references. Choose the format, preview the credit cost, and generate from one MiniMax H3 workspace.
Choose the input that matches your starting point: a written prompt, a finished image, or a set of references that should guide the result.
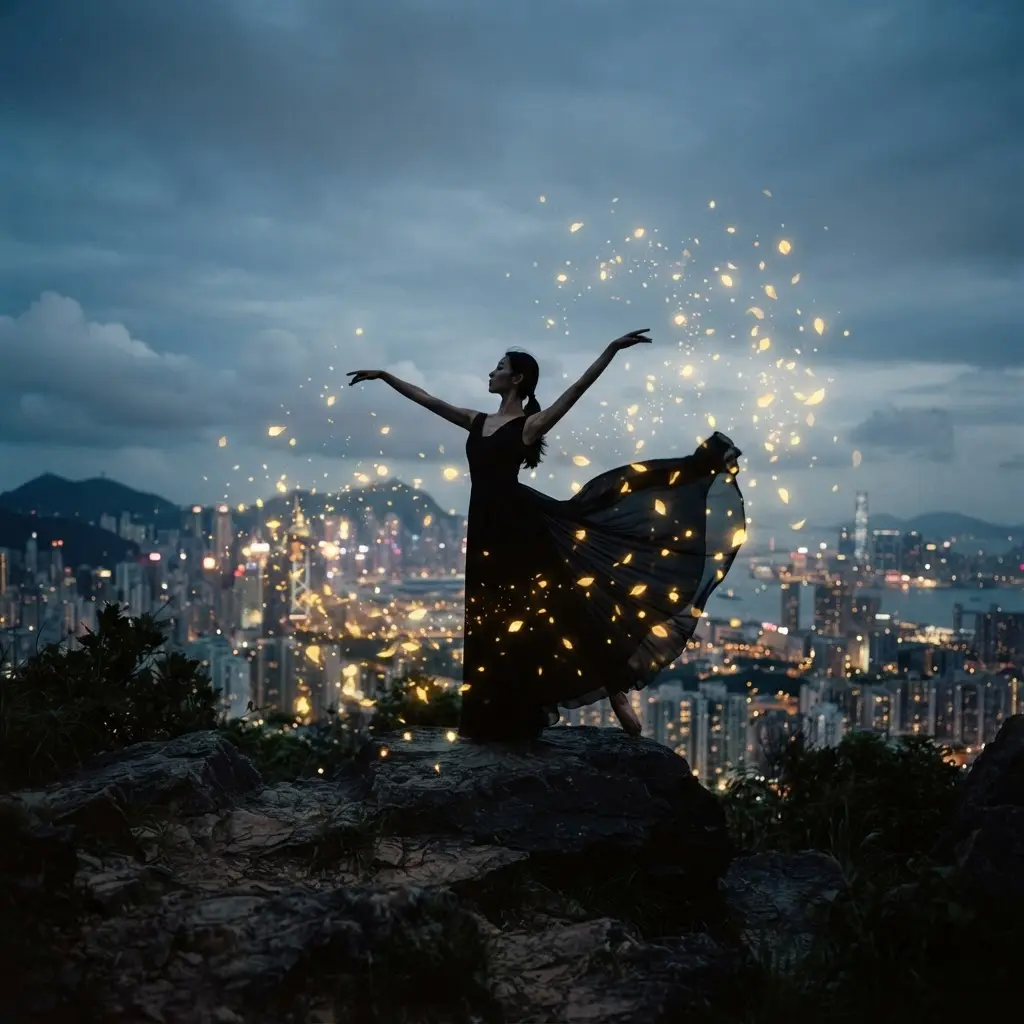
Turn a written scene into a video with direct control over duration, resolution, framing, and motion.
Open this MiniMax H3 generatorTry MiniMax H3 Text to VideoStart with the route that fits the asset you already have, then use the examples as practical shortcuts into the generator.
Use the text workflow for first-pass scenes, ad concepts, explainers, visual tests, and short narrative beats.
Open this route →Use image-to-video when an asset already exists and the job is to add motion without rebuilding the composition.
Open this route →Use reference media when an image defines identity, a video defines motion, or audio defines timing.
Open this route →Track credits, task state, verified failure messages, and completed download links from the same workspace.
Open this route →See the credit cost before every run, then choose recurring capacity or a one-time pack only when you need it.
Compare monthly, annual, and one-time credit options without leaving the MiniMax H3 product flow.
Choose a mode, add the prompt or source media, confirm the settings, and generate your video.
Use text to video for an idea, image to video for a fixed composition, or reference to video for stronger creative direction.
Describe the subject, movement, camera, lighting, and the details that must remain consistent.
Review the credit estimate, submit the job, follow its progress, and download the completed clip.
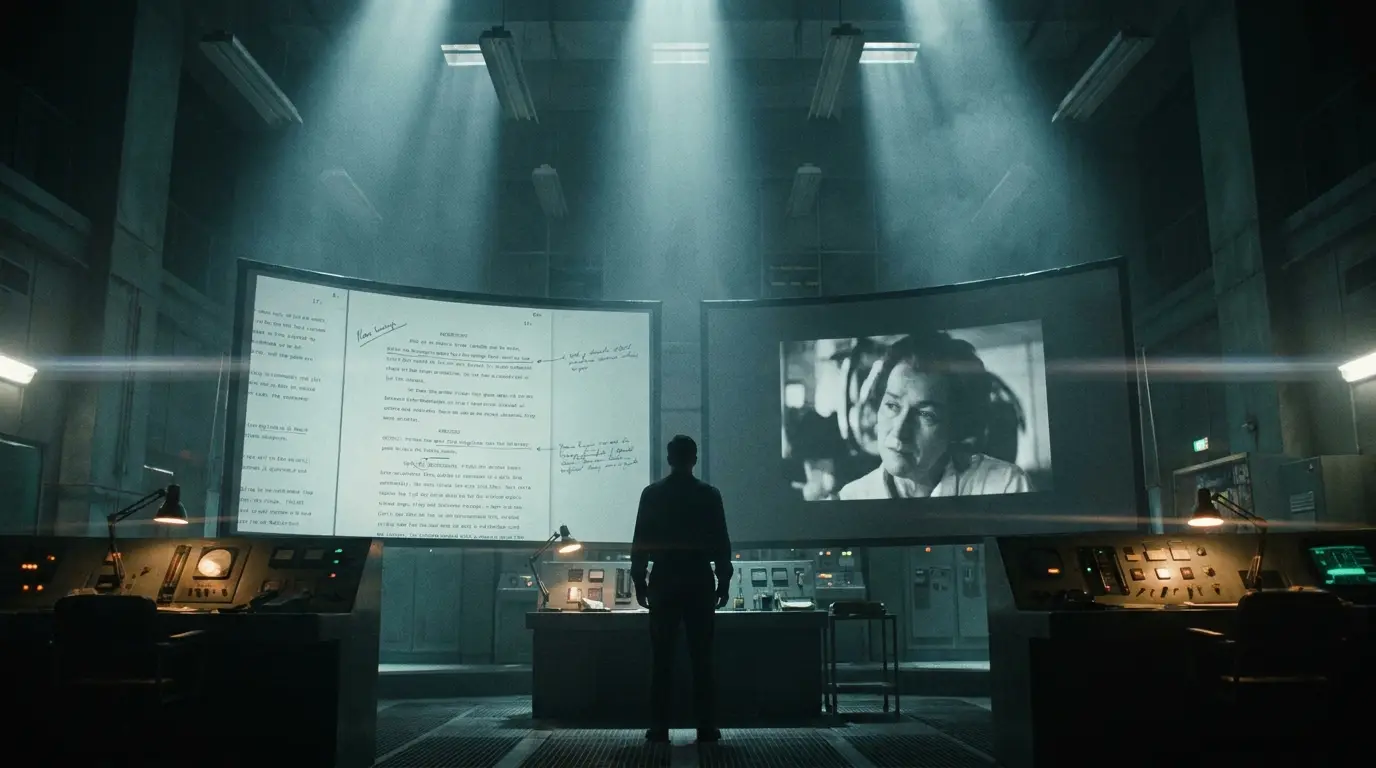
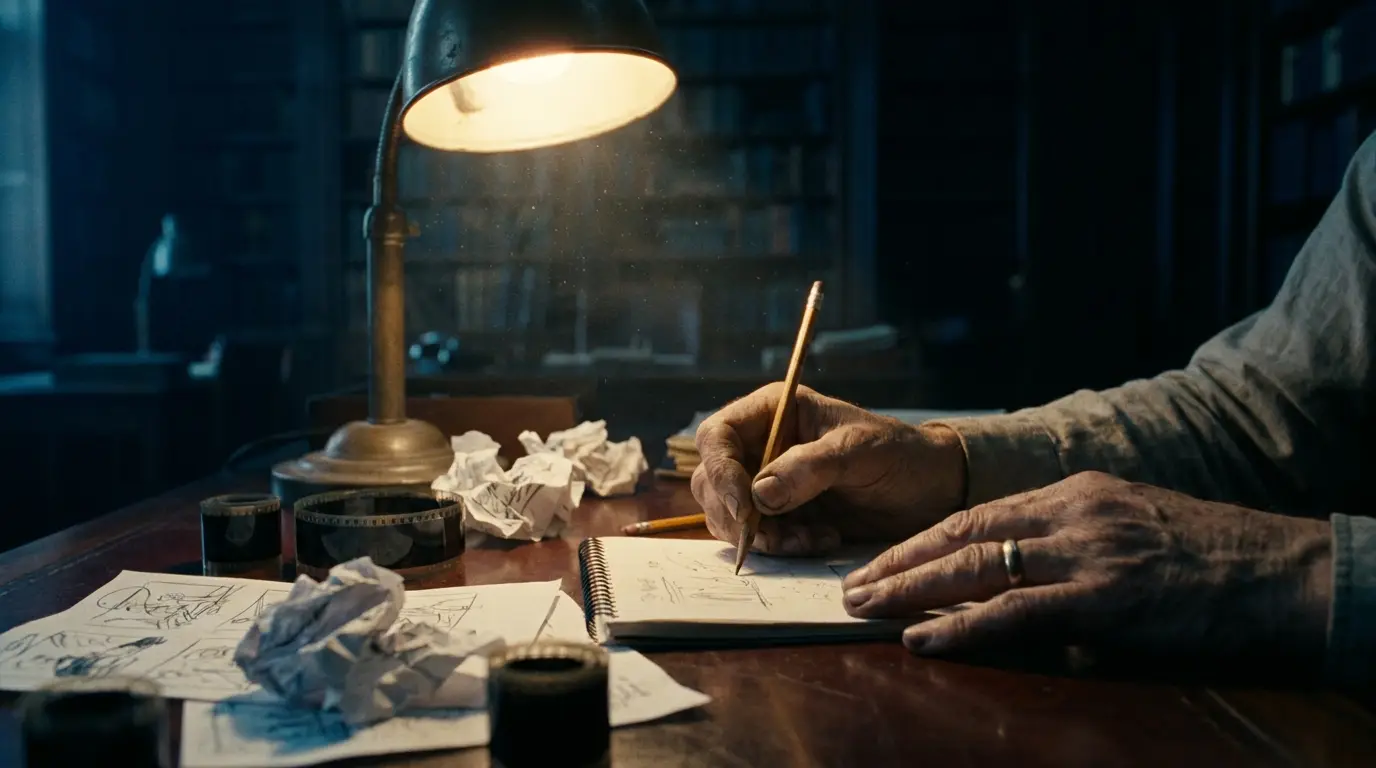

MiniMax H3 responds best when the request tells it what to preserve, what to animate, and what to avoid.
Name the subject, logo, product shape, camera angle, or identity details that should not drift.
If you use references, explain whether a source controls motion, identity, composition, voice, timing, or atmosphere.
Change one setting or prompt clause at a time so you can tell whether duration, resolution, source asset, or wording improved the result.
Use it when a team needs fast video experiments but still wants account control, source validation, predictable settings, and recoverable generation history.
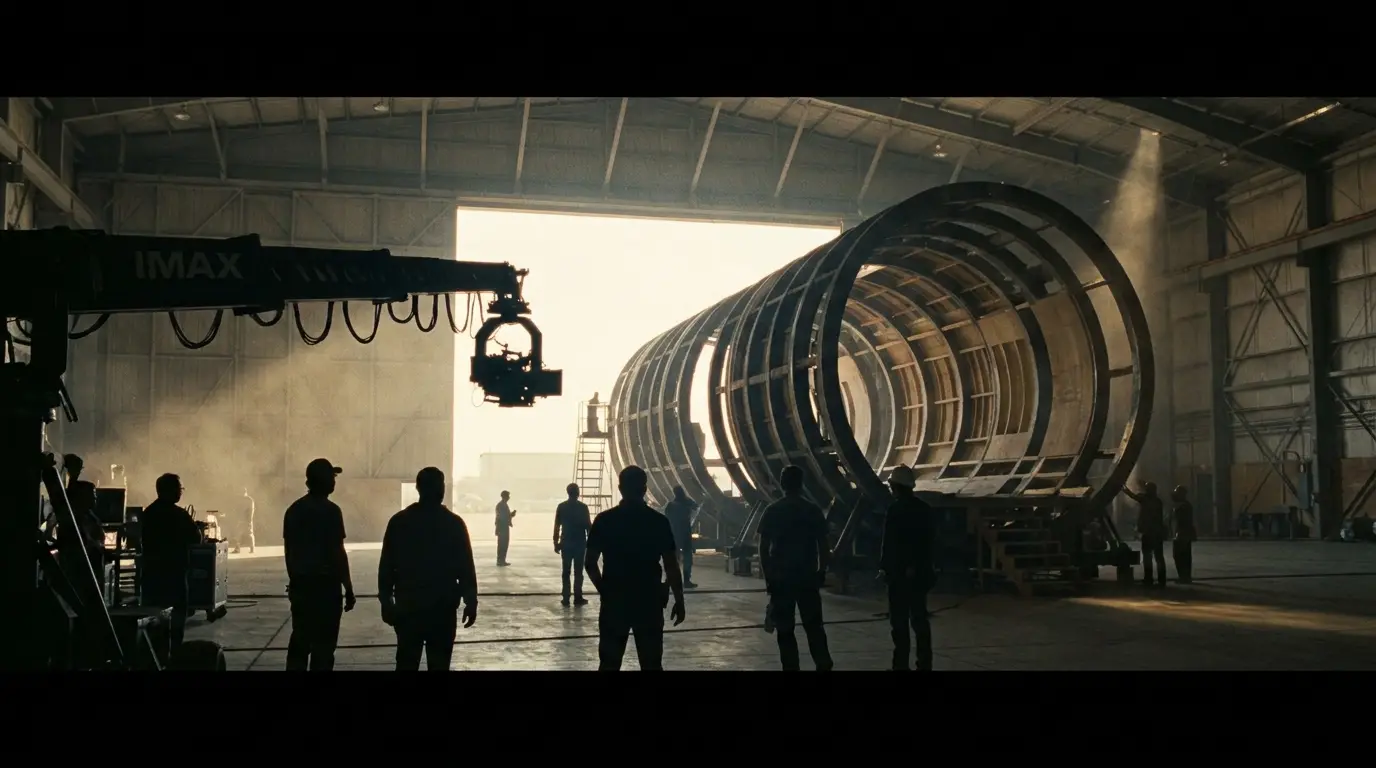
A stronger result usually comes from clearer constraints before the task starts. Use this checklist to keep creative direction, source files, and review expectations aligned.
Write the prompt around one deliverable: a product reveal, a character action, a camera move, a mood test, or a short social variation. Avoid mixing several unrelated goals into the same render because that makes the output harder to judge.
For image routes, crop the frame so the subject, edges, and background are easy to read. For reference routes, make sure each asset has a specific job, such as identity, motion, timing, voice, or scene atmosphere.
Before spending more credits, compare each output against the same checklist: subject accuracy, motion quality, brand safety, composition, lighting, and whether the clip can move directly into editing.
Retry when the idea is sound but one constraint failed: the camera moved too fast, the face drifted, the product shape changed, or the scene missed the requested timing. Change one clause at a time so the next result teaches you something useful.
Switch from text to image input when composition matters more than discovery. Switch to reference input when you need stronger continuity across character, movement, audio timing, or a branded object that should stay recognizable.
Export once the clip satisfies the creative brief and only needs editorial finishing. Keep the prompt, model, duration, and source notes with the asset so future revisions can start from a known setup instead of a guess.
Use these entry points to test source-locking, identity preservation, and prompt structure before committing larger credit budgets.
After the creative setup is clear, the workspace handles the operational layer: validation, task creation, progress, result recovery, and eligible credit refunds.
Duration, resolution, source media, and reference roles remain visible instead of disappearing behind a generic preset.
Queued, processing, completed, and failed jobs are tracked so a slow response does not look like a broken page.
The estimated cost appears before submission, and verified failed jobs can return charged credits to the account ledger.
MiniMax H3 generations run as asynchronous tasks. The workspace keeps source validation, task submission, progress, results, and retries in one place.
Start a generationText, image, and reference-to-video submissions share the same account, credit, and task-status layer.
Open a focused generator or learn the prompt patterns and setup steps before spending credits.
Guide a generation with image, video, or audio references.
→MiniMax H3 Prompt GuideUse practical prompt structures for cinematic, character, and product shots.
→MiniMax H3 TurboUnderstand the speed-focused option and use the available H3 generator.
→How to Use MiniMax H3Follow the complete path from choosing a mode to downloading a result.
→MiniMax H3 PricingCompare generation plans and one-time credit packs.
→